What a Home Inspector Actually Looks For, Room by Room
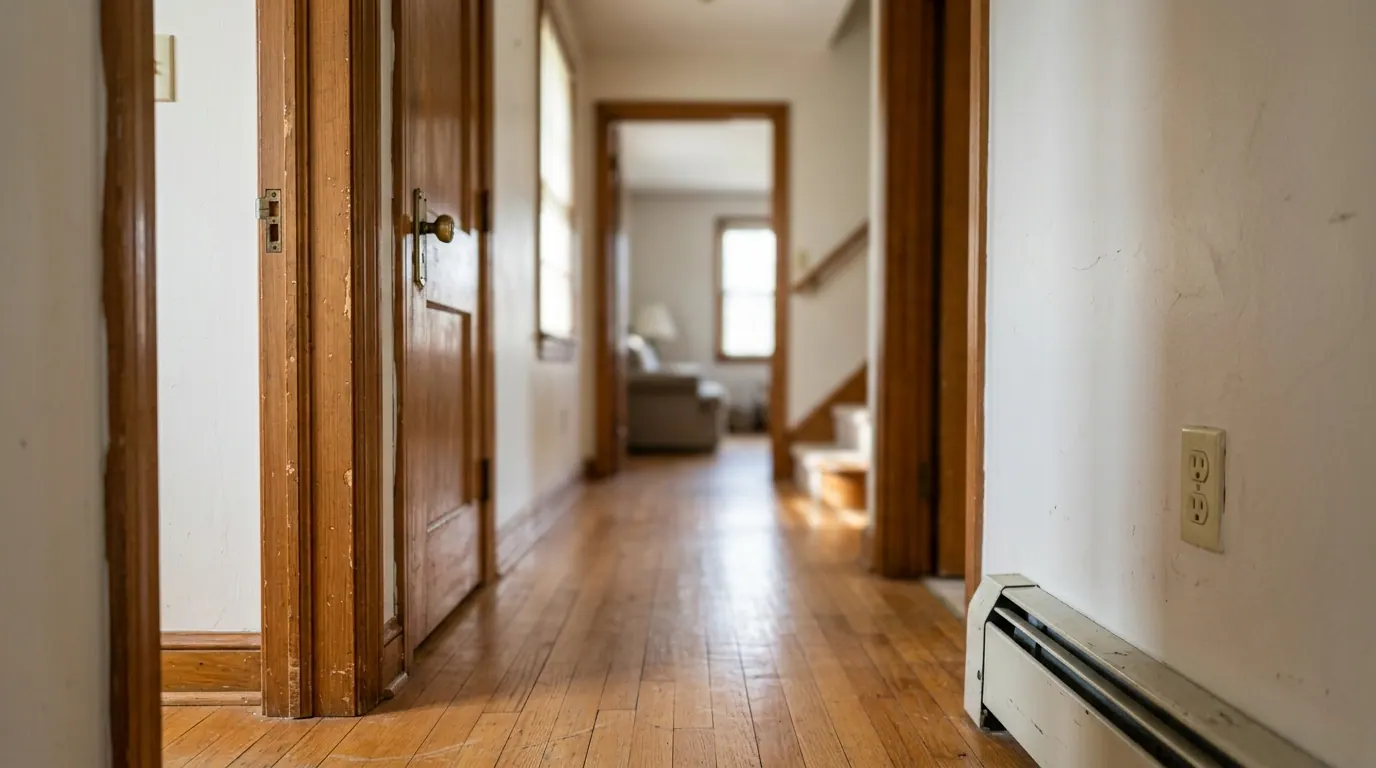
Generated (Gemini), via Wikimedia Commons
A home inspection is not a pass/fail test. It is a two-to-four hour visual survey of a house's systems and structure, and the report you get is a list of things to budget for, not a verdict on whether to buy. If you're planning a renovation or flip, knowing what the inspector actually looks at room by room lets you walk the house yourself first and avoid surprises that blow up your numbers later.
What you need
- A flashlight (phone light works, but a real flashlight is better in crawlspaces and attics)
- A basic outlet tester (under $10, checks for open ground and reversed polarity)
- A moisture meter if you're serious about it ($30-$60), otherwise your nose and eyes
- A ladder tall enough to view the roof edge and gutters from the ground, not to climb on
- The seller's disclosure or prior inspection report, if one exists
- A notepad or your phone's notes app, room by room
Step by step
- Start outside, at the roof and foundation. Inspectors look at roof age and material condition (curling or missing shingles, exposed nail heads, granule loss in the gutters), flashing around chimneys and vents, and the general slope of the ground away from the house. A foundation with visible cracks wider than a quarter inch, or one that's stair-stepped through brick, gets flagged for a structural engineer. Grading that slopes toward the house is one of the most common findings, and it's cheap to fix but expensive to ignore, since it's the root cause of most basement moisture.
- Move to the attic and crawlspace. This is where inspectors find the stuff sellers don't know about. They're checking for roof leaks (dark staining on sheathing, not just the ceiling below), insulation depth and type, signs of rodents, and whether bathroom or kitchen exhaust fans actually vent outside or just dump into the attic (this is extremely common and causes hidden moisture damage). In crawlspaces, they look for standing water, wood rot on joists and sill plates, and pest damage. A musty smell here is a real signal, not just an old-house smell.
- Work through the electrical and HVAC systems. The panel gets opened. Inspectors note the amperage (100-amp service is often marginal for a modern renovated house with central AC, electric range, and EV charging), whether it's a brand with known issues like Federal Pacific or Zinsco, and whether wiring is copper or aluminum. For HVAC, they check the age of the furnace and AC unit (most have a 15-20 year expected life), look for rust or scorching around the furnace, and test that the thermostat actually cycles the system. Water heater age and any signs of leaking or rust at the base get noted too.
- Go room by room through the living space last. This is the part that looks the most like a casual walk-through but is actually systematic. In every room they check windows (do they open, is there condensation between double-pane glass, is there rot at the sill), outlets (grounded, not reversed, GFCI in kitchens and baths), ceilings and walls for water stains or cracking, and floors for slope or soft spots. In kitchens, they run the disposal and check under the sink for old leaks. In bathrooms, they look for soft flooring around the toilet base and tub, which usually means a slow leak has been going on for a while. In basements, efflorescence (white chalky residue on foundation walls) means water has been coming through at some point, even if it's dry now.
Where this goes wrong
The most common mistake sellers and flippers make is painting or patching over a symptom right before the inspection. Fresh paint on one section of a basement wall, or a patch of new drywall in one spot, actually draws the inspector's attention rather than hiding anything. They know what selective touch-ups look like.
The second common problem is treating the inspection report as a shopping list of demands rather than a starting point for your own budget. A report will often list twenty or thirty items, most of them minor (a loose handrail, a missing smoke detector, a GFCI that needs replacing), mixed in with two or three that actually matter (roof at end of life, undersized electrical panel, foundation movement). New investors sometimes panic at the length of the list without weighing severity, or the opposite: they get so used to seeing long lists that they miss the one item that's genuinely a deal-breaker.
Bathroom and kitchen exhaust fans venting into the attic instead of outside is a quiet, expensive one. It doesn't show up as a leak, but over years it saturates attic insulation and causes sheathing rot and mold that isn't visible from below. Fixing it after the fact means new ducting through the roof or wall, which is a $300-$800 job if it's straightforward, more if the attic is hard to access.
On older homes, aluminum branch wiring from the 1960s and 70s gets flagged constantly, and it scares people more than it should on its own. It's not automatically dangerous, but the connections at outlets and switches need to be pigtailed with copper using approved connectors (COPALUM or AlumiConn), which a licensed electrician should do room by room. Budget roughly $8-$15 per connection point plus a service call, or a few thousand dollars for a full house, depending on size.
Grading and drainage issues get underestimated constantly. A homeowner sees a damp basement and thinks "waterproofing system," which can run $8,000-$15,000 for interior drain tile and a sump pump. Often the real fix is regrading the yard and extending downspouts away from the foundation, which might cost a few hundred dollars in dirt, sod, and downspout extensions. Always rule out the cheap fix before paying for the expensive one.
When to stop and call someone
An inspector's report will tell you where the specialists need to go, and you should listen. If the report flags foundation cracking, movement, or a bowing wall, that's a structural engineer, not a contractor guess. Engineers typically charge $400-$800 for an evaluation, and it's worth it before you commit to a purchase price or a renovation scope, because the fix can range from a few thousand dollars in crack injection to tens of thousands for underpinning.
If the panel is an outdated brand known for failing to trip (Federal Pacific Stab-Lok panels are the most cited example), or if you see double-tapped breakers or obvious DIY wiring, that's a licensed electrician, full stop. Don't have anyone touch a panel who isn't licensed for it. A panel replacement runs roughly $2,000-$4,500 depending on amperage and whether a service upgrade from the utility is needed.
Any mention of asbestos (old vermiculite insulation, popcorn ceilings, certain floor tile from before 1980) or mold beyond a small surface patch needs a specialist for testing before anyone starts demo. Disturbing asbestos-containing material without proper containment is a health hazard and, in a lot of places, a code violation with real fines attached.
And if you're not confident reading a report yourself, it's worth paying the inspector for a follow-up call, most will walk you through the findings for no extra charge, or a small one. That conversation is often more useful than the report itself, because they'll tell you plainly which items are cosmetic and which ones actually change your offer or your renovation budget. We cover a lot of these line items in more detail elsewhere on Fixer Files, room by room, with real cost ranges attached, if you want to go deeper before you make an offer.
Get the real numbers
Every renovation post includes the actual costs. Join the list and get each new breakdown as it goes up.
Join the list